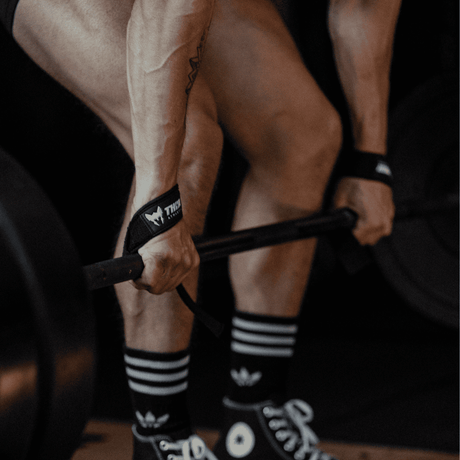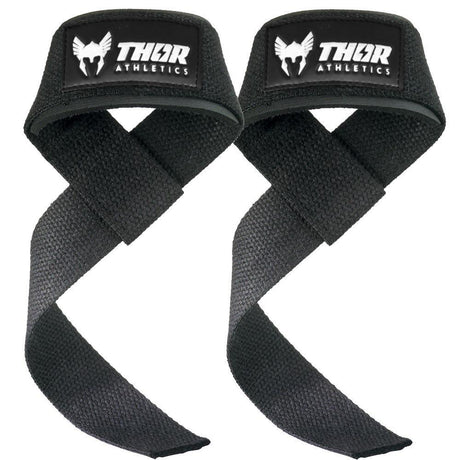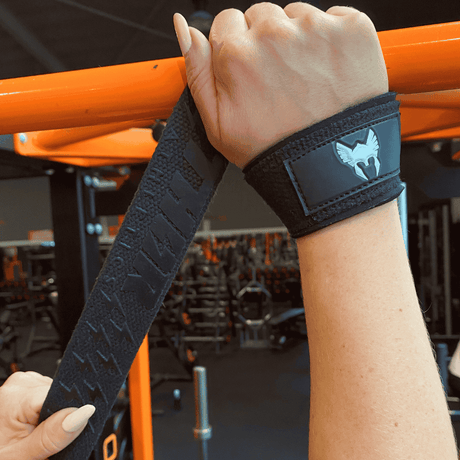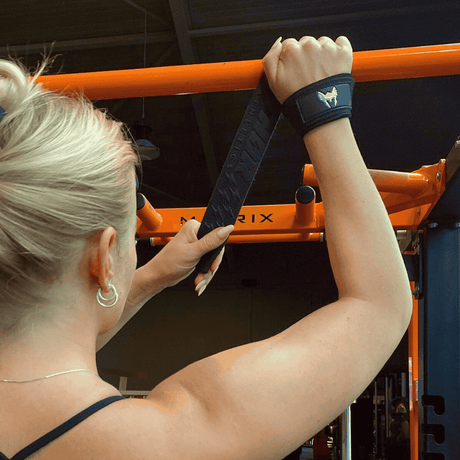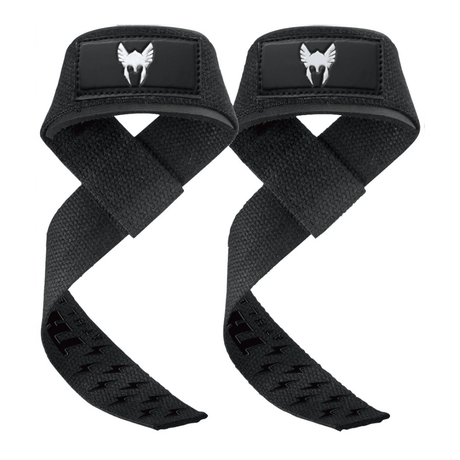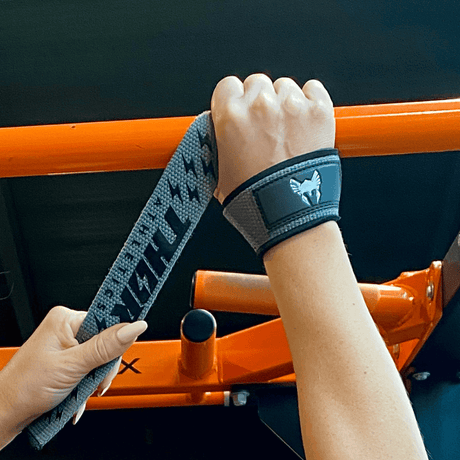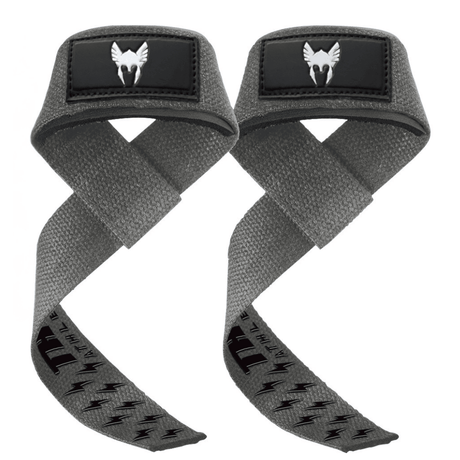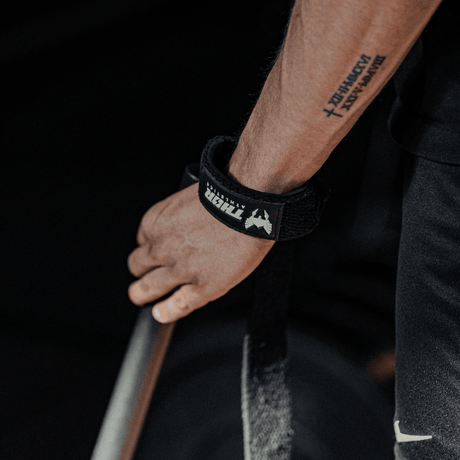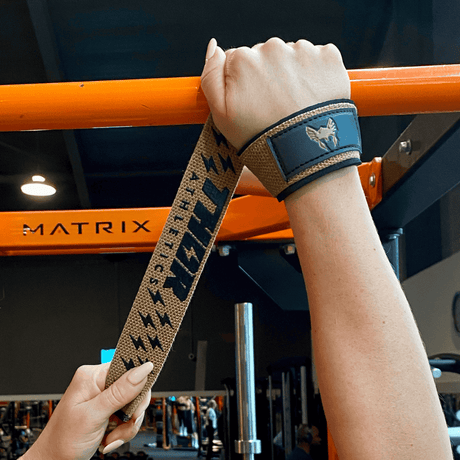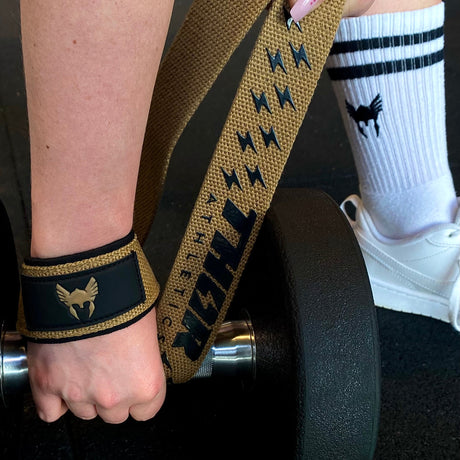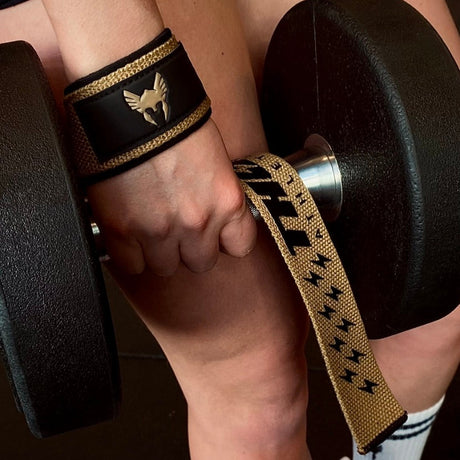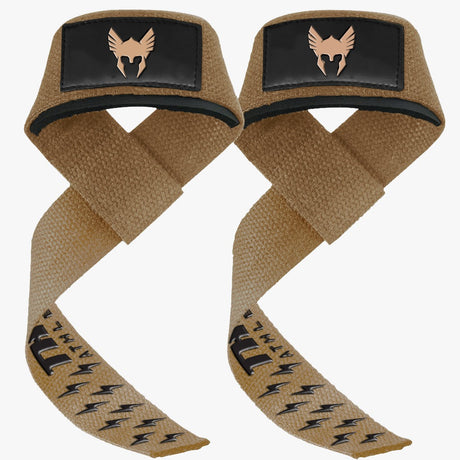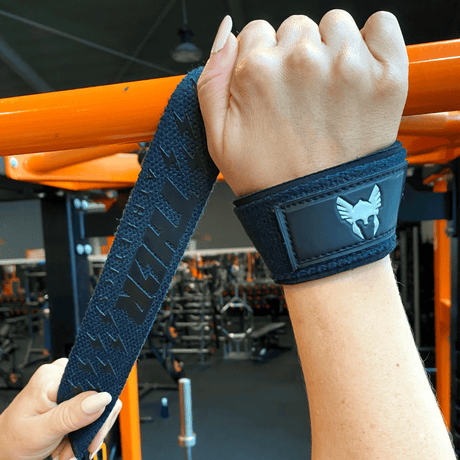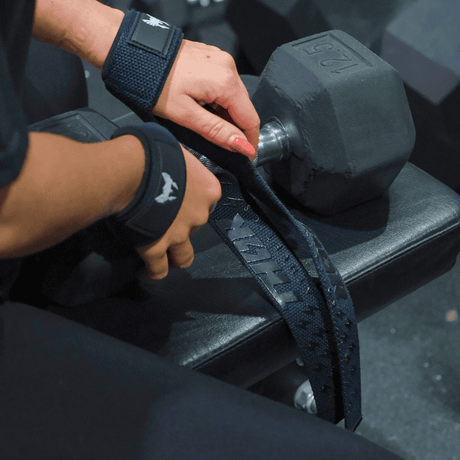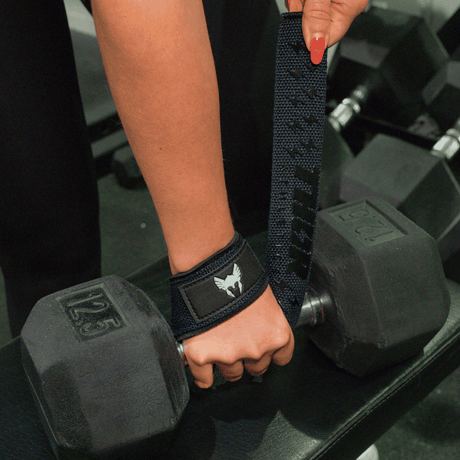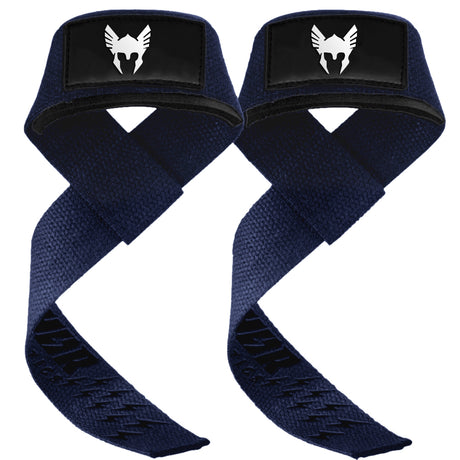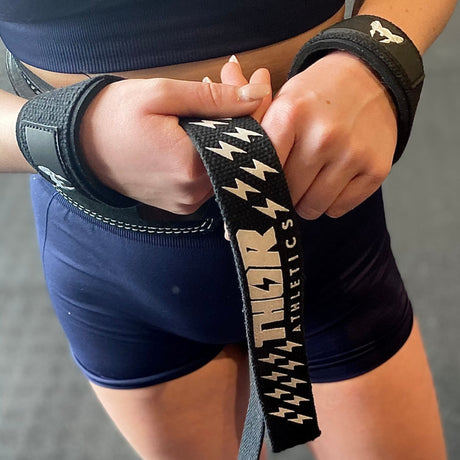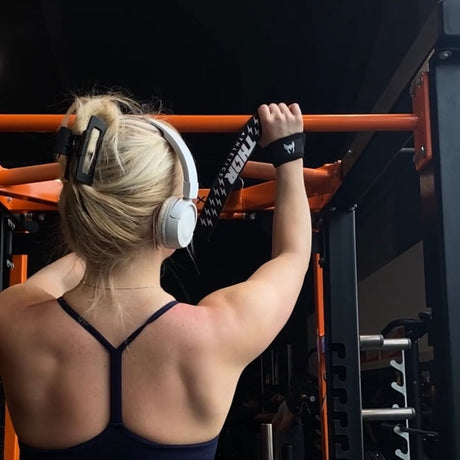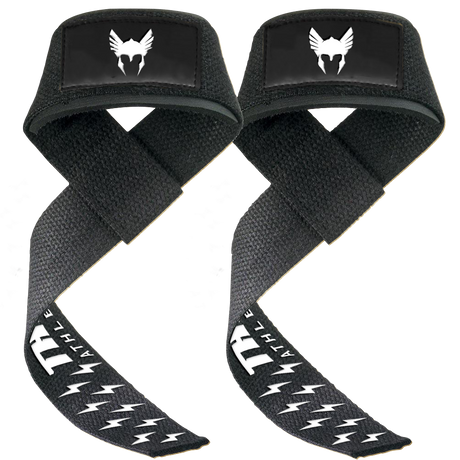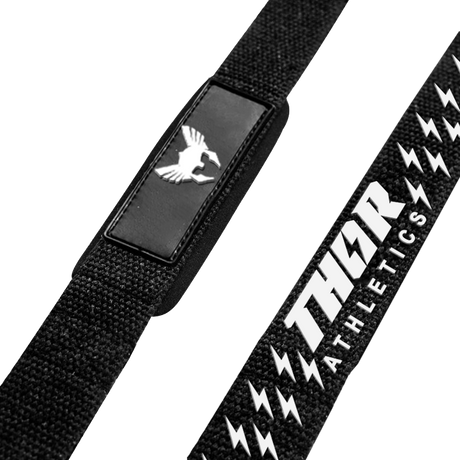

Put on wrist wraps as follows: hook the loop around your thumb, wrap the wrap tightly around your wrist (half above and half below the wrist joint), fasten the hook-and-loop closure, and remove the loop from your thumb. The wrap should be tight but not cause numbness. Putting on wrist wraps correctly takes a few seconds and immediately provides more wrist support.
Why you should put on wrist wraps correctly
Wrist wraps protect your wrists during heavy pressing and overhead movements. But they only work if you put them on in the right position and with the right tension. Putting on wrist wraps incorrectly - for example, too loosely, too high on the forearm, or directly over the joint - removes most of the support. That is why it is worth learning to do it properly once.
How to put on wrist wraps in 5 steps
- Secure the thumb loop: slide the loop over your thumb so the wrap stays in place while wrapping.
- Determine the position: position the top of the wrap level with your wrist joint.
- Wrap tightly: wrap the wrap around your wrist with firm tension, half above and half below the joint.
- Fasten: press the hook-and-loop closure firmly into place.
- Remove the loop: take off the thumb loop so your thumb can move freely.
See which wrist wraps are right for you and read what to look for when buying wrist wraps.

How tight should wrist wraps be?
When putting on wrist wraps, they should be tight enough for you to feel supported, but not so tight that your fingers tingle or turn white. Wrap them more tightly for your heaviest sets; between sets, loosen them to restore blood flow. This gives you both support and comfort.
Conclusion: how to put on wrist wraps
Putting on wrist wraps is simple once you know the pattern: thumb loop, wrap tightly around the joint, fasten, and remove the loop. Pay particular attention to positioning it halfway over the wrist joint and to using the right tension. If you put on your wrist wraps this way, you’ll get maximum wrist support during bench presses, overhead presses, and other heavy movements - exactly what wrist wraps are designed for.
Frequently asked questions about putting on wrist wraps
How do you put on wrist wraps correctly?
First, hook the loop around your thumb so the wrap stays in place. Then wrap it tightly around your wrist, with half above and half below your wrist joint, and fasten the Velcro securely. Then remove the thumb loop. This ensures that the wrist wraps support the joint precisely and do not slip during your set.
How tight should wrist wraps be?
Wrist wraps should be tight enough for you to feel clear support, but not so tight that your fingers start tingling or turn white. For maximum-effort sets, wrap them a little tighter, and for lighter sets, a little looser. Loosen the wraps between sets so your blood flow can recover and your wrists stay comfortable throughout the workout.
Where on your wrist should you put wrist wraps?
Position the wrap so that it sits half above and half below your wrist joint. If you place it too high on your forearm, it won’t support the joint; placing it directly over the joint can restrict movement. By centering the wrap over the joint, you give your wrist the stability you need during heavy pressing and overhead exercises.
Should you keep your wrist wraps on between sets?
It’s best not to. Tightly fastened wrist wraps restrict blood flow, so loosen them between sets and wrap them again just before your next set. This way, you maintain maximum support while lifting and keep your wrists and hands comfortable. For light exercises in between, you usually don’t need the wraps at all.